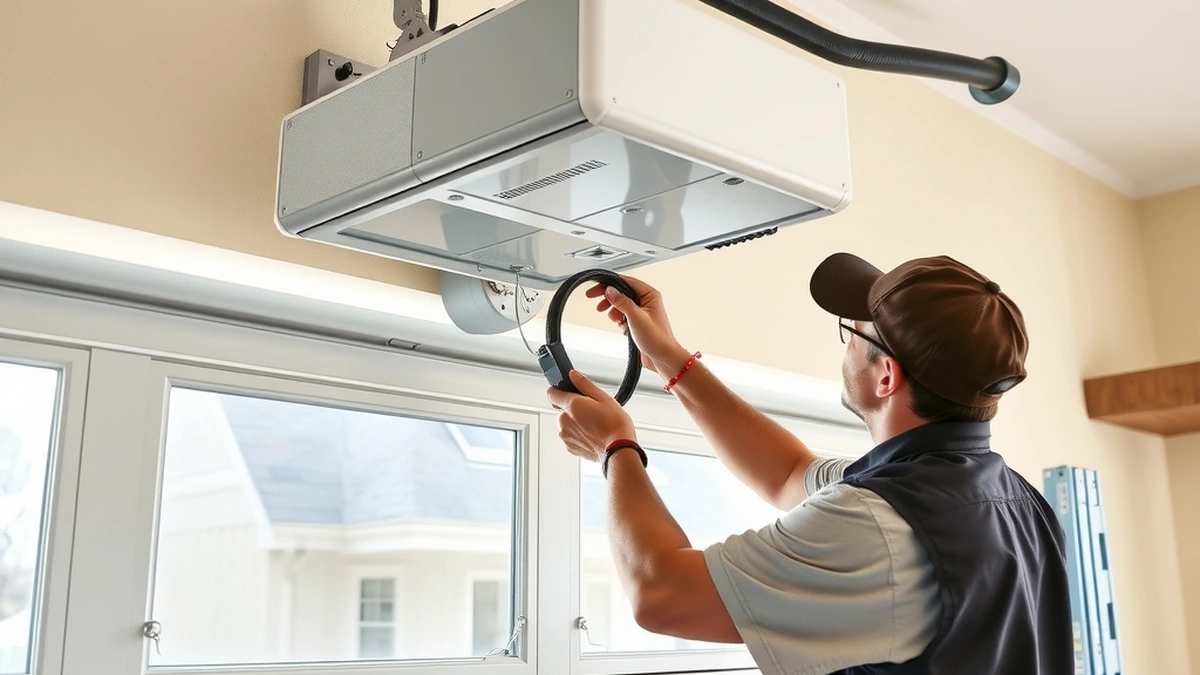
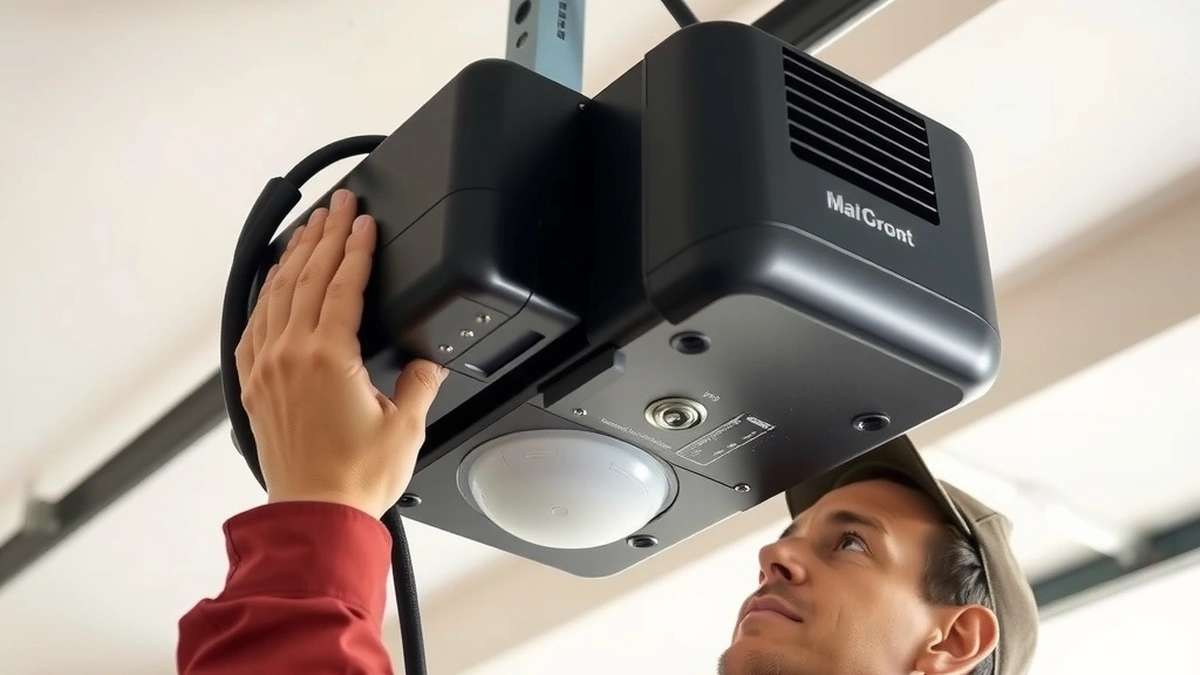
Extension Spring Installation: A Step-by-Step Guide
Learn how to safely install extension springs on your garage door, with cost estimates, load math, and safety warnings.
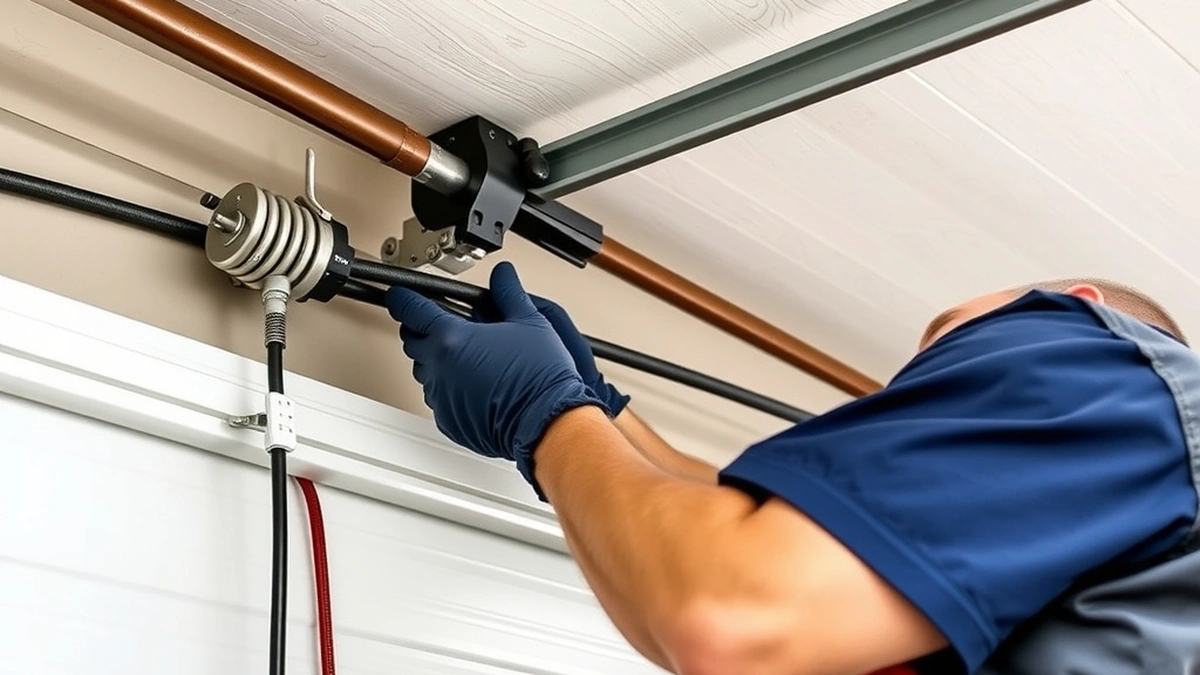
Extension spring installation means mounting safety cables, attaching springs to the track hanger and door frame, and balancing the door. Parts typically cost $40–$100 per pair.
- Difficulty
- Advanced DIY
- Time required
- 2–3 hours
- Parts cost
- $40–$100 per pair
- Professional labor
- $150–$300
- Safety risk
- High
Some links on this page are affiliate links.If you buy through them we may earn a commission at no extra cost to you. We do not accept payment for rankings. Read the full disclosure.
Extension spring installation is the process of mounting counterbalance springs above the horizontal tracks on each side of a garage door. These springs stretch as the door closes and contract as it opens, offsetting the door’s weight so the opener or a person can lift it safely. Because the springs store significant tension, the job requires safety cables, correct spring sizing, and careful handling from start to finish.
Why Extension Springs Matter
Extension springs work in pairs, one on each side of the door. When the door is closed, the springs are stretched. When the door opens, they contract, lifting much of the door’s weight. If one spring breaks, the door can become uneven, slam shut, or strain the opener. Most residential doors use extension springs rated for a specific door weight and height, so matching the replacement spring to the door is critical.
Before buying parts, measure the door height and weigh the door if possible. A standard 7-foot door typically uses a different spring length than an 8-foot door. Installing the wrong spring can leave the door hard to lift or cause it to drift open.
Safety First: Springs and Cables
Extension springs are under high tension. If a spring snaps without a safety cable, it can whip across the garage and cause serious injury. Always install safety cables through the center of each spring and anchor them to the track hanger and the door frame. If a spring breaks, the cable contains it.
Disconnect the garage door opener and clamp the door in place before removing old springs. Use locking pliers on the track to prevent the door from moving. Wear safety glasses and gloves, and never stand directly in front of a spring while adjusting it. If you are not confident working with high-tension components, hire a professional. For more on weighing DIY against professional help, see our overview at /garage-door-repair-installation/.
Tools and Parts You Will Need
Gather the following before starting:
- Replacement extension springs matched to door weight and height
- Safety cables (usually included with spring kits)
- Winding bars or sturdy screwdrivers for tension adjustment
- Adjustable wrenches and socket set
- Locking pliers or C-clamps
- Step ladder
- Safety glasses and heavy gloves
Parts typically cost $40–$100 per pair. If you hire a technician, labor often adds $150–$300. For context, other common garage door jobs carry different price ranges: torsion spring replacement usually runs $150–$400, cable repair $150–$350, opener installation $300–$800, panel replacement $200–$600, and a new door installed $800–$4,000. Emergency call-outs can cost $250–$500.
Step-by-Step Installation
Follow these steps carefully. Work on one side at a time so the other spring can help support the door if needed.
- Secure the door. Close the door and disconnect the opener. Clamp locking pliers onto the track just below a roller on both sides so the door cannot roll upward.
- Release existing tension. If replacing old springs, loosen the spring from the track hanger and the door frame. Keep your face and body away from the spring path.
- Install safety cables. Thread a safety cable through each new spring. Anchor one end to the track hanger and the other to the door frame or track bracket. The cable must be taut enough to catch the spring if it breaks.
- Attach the spring. Connect one end of the spring to the track hanger and the other to the door frame or bracket using the appropriate hardware. Make sure both sides are symmetrical.
- Set initial tension. Move the door halfway open. The door should stay roughly in place without drifting up or down. If it rises, reduce tension. If it falls, increase tension.
- Test balance. Lift the door manually to waist height. It should feel light and remain where you leave it. Lower it and check that it closes smoothly.
- Reconnect the opener. Remove the clamps, reconnect the opener, and run the door through a full cycle. Listen for rubbing or uneven movement.
Load Math and Spring Selection
Extension springs are rated by the weight they can lift. A pair of springs must together match the door weight. For example, if a door weighs 150 pounds, each spring in a pair is typically selected to handle roughly half that load, or about 75 pounds per spring, depending on the manufacturer’s rating and the door’s track geometry.
To calculate the load per spring:
Door weight ÷ 2 = approximate load per spring
150 lbs ÷ 2 = 75 lbs per spring
If you install springs rated for only 50 pounds each on a 150-pound door, the springs will be overstretched and may fail prematurely. If you install springs rated for 100 pounds each, the door may be too light and difficult to keep closed. Always match the spring rating to the door specifications rather than guessing.
When to Call a Professional
Extension spring installation sits at the upper end of DIY garage door work. If the door is heavy, over 10 feet wide, or you cannot determine the correct spring rating, call a technician. The same applies if the existing hardware is rusted, the tracks are bent, or the opener shows signs of strain.
Professional labor for spring work typically falls in the $150–$300 range, though prices vary by region and door type. That cost includes the correct springs, safety cables, tension adjustment, and a balance test. For a broader look at repair pricing, see /how-much-does-garage-door-repair-cost/. If you are deciding whether to repair or replace components, our guide at /garage-door-repair-vs-garage-door-opener/ can help.
Maintenance After Installation
Once the new springs are installed, inspect them every few months. Look for gaps in the coils, rust, frayed safety cables, or loose hardware. Lubricate the springs lightly with a garage door lubricant, not grease, which can attract dirt. Test the door balance seasonally; a door that drifts up or down needs spring adjustment.
Extension springs typically last about 7 to 12 years or roughly 10,000 cycles. Replace both springs at the same time even if only one shows wear. Mixing old and new springs creates uneven tension and can damage the door or opener.
If you prefer to avoid spring work entirely, routine maintenance such as track cleaning and roller inspection can be handled safely. More details are available at /garage-door-repair-maintenance/.
Next, compare how much does garage door repair cost, garage door repair installation, garage door repair repair before you commit.
Frequently asked questions
What are extension springs?
Long springs mounted above the horizontal tracks that stretch and contract to counterbalance the door as it opens and closes.
Are extension springs dangerous?
Yes. A breaking spring or cable can cause serious injury, so safety cables and proper tension are mandatory.
Can I install extension springs myself?
Only if you have the right tools, understand the load math, and follow strict safety procedures throughout the job.
How long do extension springs last?
About 7 to 12 years or roughly 10,000 cycles, depending on usage and maintenance.
Should I replace both springs at once?
Yes. Replacing only one spring leaves the door unbalanced and puts uneven stress on the opener and tracks.
Where can I find local help?
Ask a licensed contractor or installer who has worked with the same system and can inspect your site.
Sources
Some links are affiliate links.If you buy through them we may earn a commission at no extra cost to you. We do not accept payment for rankings. Read the full disclosure.