Belt-Drive Opener Installation: A Complete Guide
Learn how to install a belt-drive garage door opener safely, with step-by-step guidance and cost estimates.
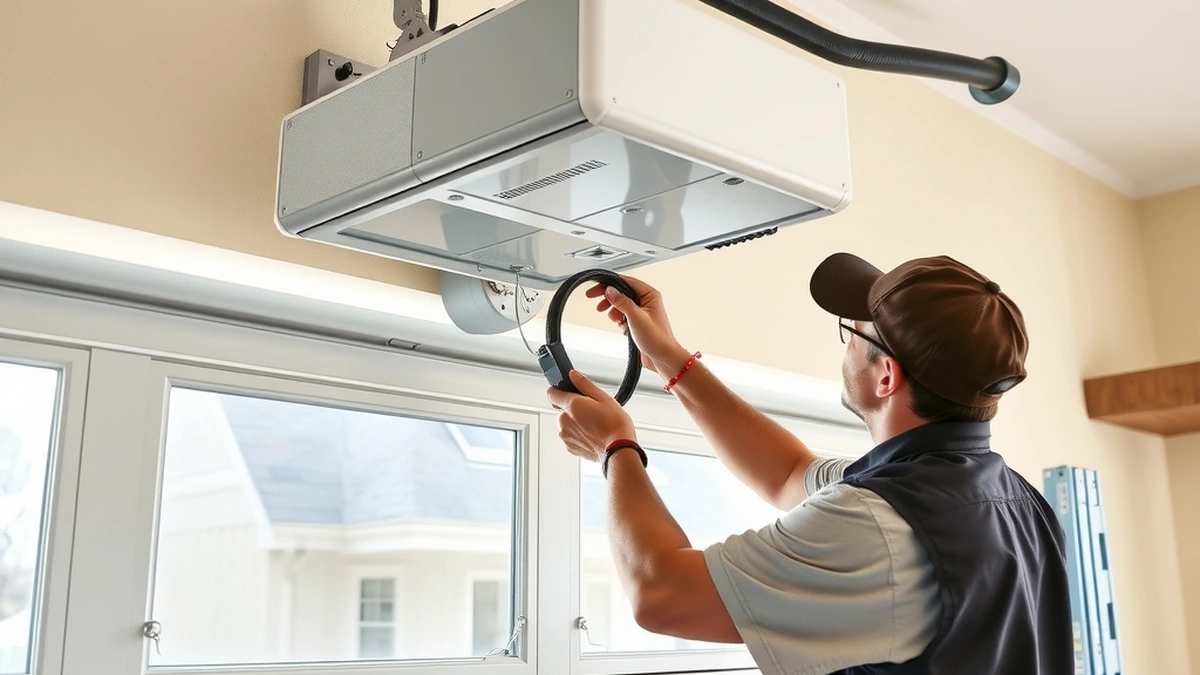
A belt-drive opener installation typically takes 2-4 hours and costs $300-$800 professionally, using a rubber belt to lift the door quietly.
- Typical professional cost
- $300-$800
- DIY installation time
- 2-4 hours
- Best for
- Attached garages, living spaces above
- Key safety risk
- Torsion springs and cables
Some links on this page are affiliate links.If you buy through them we may earn a commission at no extra cost to you. We do not accept payment for rankings. Read the full disclosure.
A belt-drive opener installation replaces or installs a garage door opener that uses a reinforced rubber belt to move the trolley. The process typically takes 2-4 hours and costs between $300 and $800 when performed by a professional. Safety comes first: garage door springs and cables store dangerous tension and can cause severe injury if mishandled.
Why Choose a Belt-Drive Opener
Belt-drive openers operate more quietly than chain-drive models because the rubber belt absorbs vibration instead of metal links clanking against a sprocket. This makes them a strong choice for attached garages or homes with bedrooms above the garage. The trade-off is price; belt-drive units often cost more than chain-drive units, and the belt may need replacement after years of use.
If your current opener is loud or failing, compare the cost of a new opener against repair alternatives. For broader pricing context, see our guide on how much garage door repair costs.
Safety First: Springs and Cables
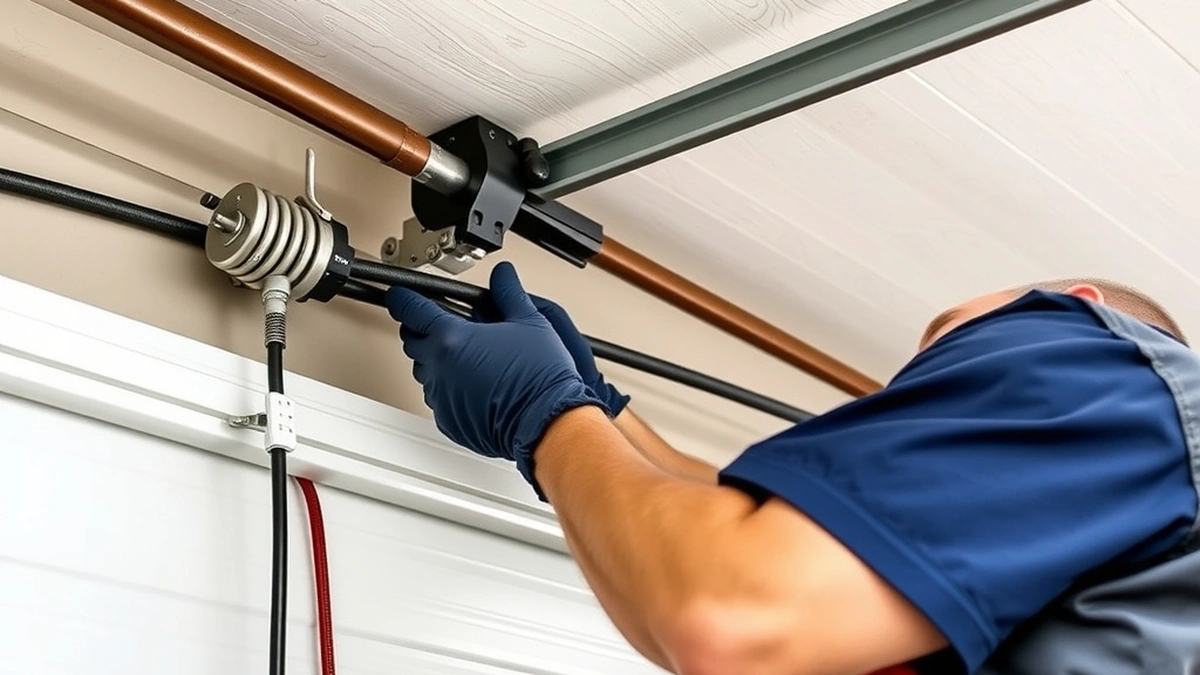
Before you touch an opener, understand the hazards. Torsion springs mounted above the door and extension springs along the tracks are under high tension. A broken spring can release with enough force to cause serious injury or death. Cables under tension can whip or snap.
Never attempt to adjust or remove springs unless you are trained and equipped. If your door has torsion springs, disable the opener and lock the door in place before working near the spring assembly. When in doubt, hire a professional. For more on the distinction between door and opener work, read garage door repair vs garage door opener.
Tools and Materials You Will Need
Gather these items before starting:
- Belt-drive garage door opener kit
- Ladder rated for your ceiling height
- Power drill and bits
- Socket wrench set
- Pliers and wire cutters
- Tape measure
- Level
- Safety glasses and gloves
- Stepladder or scaffolding for ceiling access
- Voltage tester
Check the opener manufacturer’s manual for model-specific requirements. Most residential openers plug into a standard 120-volt outlet, but verify that your outlet is grounded and within reach of the power cord.
Pre-Installation Checks
Measure your door and confirm opener compatibility. Sectional doors typically range from 7 to 8 feet in height, with widths from 8 to 18 feet for single and double doors. A standard single-car door might weigh 130 pounds, while a double-car door can exceed 200 pounds. The opener’s horsepower rating should match the door weight; 1/2 horsepower is common for single doors, while 3/4 horsepower suits heavier double doors.
Inspect the door itself. If panels are damaged or the door is unbalanced, repair those issues first. Panel replacement runs roughly $200 to $600 per panel. A new door installed costs between $800 and $4,000 depending on size and material. Do not install an opener on a door that binds or sticks, as the opener will strain and wear out prematurely.
Step-by-Step Belt-Drive Opener Installation
-
Disconnect power. Unplug the existing opener or turn off the breaker at the panel. Verify the circuit is dead with a voltage tester.
-
Remove the old opener. Detach the arm from the door, lower the rail, and remove the mounting brackets. If replacing a chain-drive unit, note the bracket positions for reference.
-
Assemble the rail. Lay out the belt-drive rail sections on the floor and connect them according to the manual. Slide the trolley onto the rail.
-
Mount the header bracket. Attach the bracket to the wall above the door, typically centered and 2 to 4 inches above the highest point of door travel. Use lag bolts into structural framing, not just drywall.
-
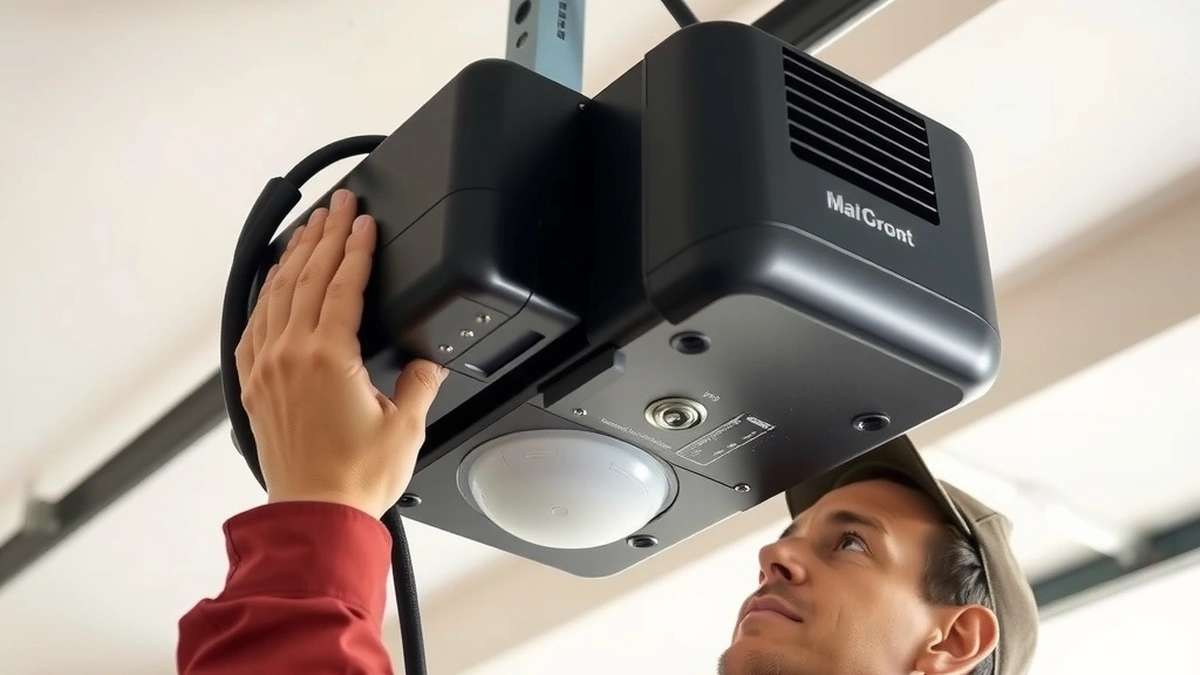
Install the motor unit. Raise the assembled rail and motor to the ceiling. Position the motor so the rail is level and parallel to the door track. Secure the motor to ceiling joists using the provided brackets and hardware. A typical motor weighs 15 to 25 pounds; use a helper or lift to hold it in place while bolting.
-
Connect the arm. Attach the door arm to the trolley and the bracket on the door. Adjust the arm length so it is nearly vertical when the door is closed.
-
Wire the safety sensors. Mount the photo-eye sensors on each side of the door, no more than 6 inches above the floor. Run the wires to the motor unit and connect them per the wiring diagram. These sensors reverse the door if an object breaks the beam.
-
Program the controls. Install the wall control and program remote transmitters. Test the force and limit settings so the door stops and reverses properly.
-
Test operation. Plug in the opener and run the door through several open and close cycles. Listen for belt slippage, unusual noise, or binding. Adjust travel limits as needed.
Electrical Requirements and Cost Arithmetic
Most belt-drive openers draw between 3 and 5 amps during operation. A standard 15-amp circuit can handle this load, but avoid sharing the circuit with high-draw appliances. If you need a new outlet installed by an electrician, add $150 to $300 to the project cost.
Professional installation pricing breaks down as follows:
| Item | Estimated Cost |
|---|---|
| Opener unit (belt drive) | $200-$400 |
| Professional labor | $100-$300 |
| Electrical outlet (if needed) | $150-$300 |
| Total typical range | $300-$800 |
For comparison, other common garage door services carry these estimated price ranges:
- Torsion spring replacement: $150-$400
- Cable repair: $150-$350
- New door installed: $800-$4,000
- Emergency call-out: $250-$500
These figures are estimates and vary by region, door size, and contractor. Always request a written quote before work begins.
When to Call a Professional
DIY installation is feasible for mechanically inclined homeowners, but certain situations warrant a professional:
- The door has torsion springs that need adjustment or replacement.
- The ceiling framing is unconventional or cannot support the motor unit.
- You are uncomfortable working with household electrical wiring.
- The door is oversized, insulated, or unusually heavy.
Professional installers also typically warranty their labor and can verify that the opener meets local building codes. For more information on repair and installation services, visit our garage door repair and installation overview.
Maintenance After Installation
Belt-drive openers require less maintenance than chain drives, but they are not maintenance-free. Inspect the belt every six months for cracks, fraying, or glazing. Lubricate the door’s rollers, hinges, and tracks with a silicone-based lubricant; do not lubricate the belt itself. Test the auto-reverse feature monthly by placing a 2x4 on the floor in the door’s path; the door should reverse on contact.
Keep the photo-eye sensors clean and aligned. If the door refuses to close, check for obstructions or sensor misalignment before assuming the opener is faulty.
Final Checklist
- Power is disconnected during installation.
- Springs and cables are not adjusted without proper training.
- Motor is secured to structural ceiling framing.
- Safety sensors are installed and aligned.
- Door reverses when it meets resistance.
- Manual release cord operates freely.
A belt-drive opener installation is a manageable project for many homeowners, but respect the forces involved. When springs, cables, or heavy door panels are part of the equation, the safest choice is often to call a qualified technician.
Frequently asked questions
What is a belt-drive garage door opener?
A belt-drive opener uses a reinforced rubber belt instead of a metal chain to move the trolley, resulting in quieter operation and less vibration.
How much does belt-drive opener installation cost?
Professional installation typically ranges from $300 to $800, depending on door size, regional labor rates, and whether electrical work is needed.
Can I install a belt-drive opener myself?
Yes, if you are comfortable with basic electrical wiring and mechanical assembly, but you must disable and secure the springs before beginning.
Is a belt-drive opener better than a chain-drive opener?
Belt drives are quieter and require less maintenance, but they usually cost more upfront and may not suit extremely heavy or oversized doors.
How long does installation take?
A professional usually completes the job in 2-4 hours; a DIY installation may take longer depending on experience and tool availability.
Do I need new wiring for a belt-drive opener?
Most openers plug into a standard 120-volt outlet, but you may need a dedicated circuit or ceiling outlet installed if none exists.
Sources
Some links are affiliate links.If you buy through them we may earn a commission at no extra cost to you. We do not accept payment for rankings. Read the full disclosure.