Chain-Drive Opener Installation: A Complete Guide
Learn how to install a chain-drive garage door opener safely, with step-by-step guidance, cost estimates, and when to call a pro.
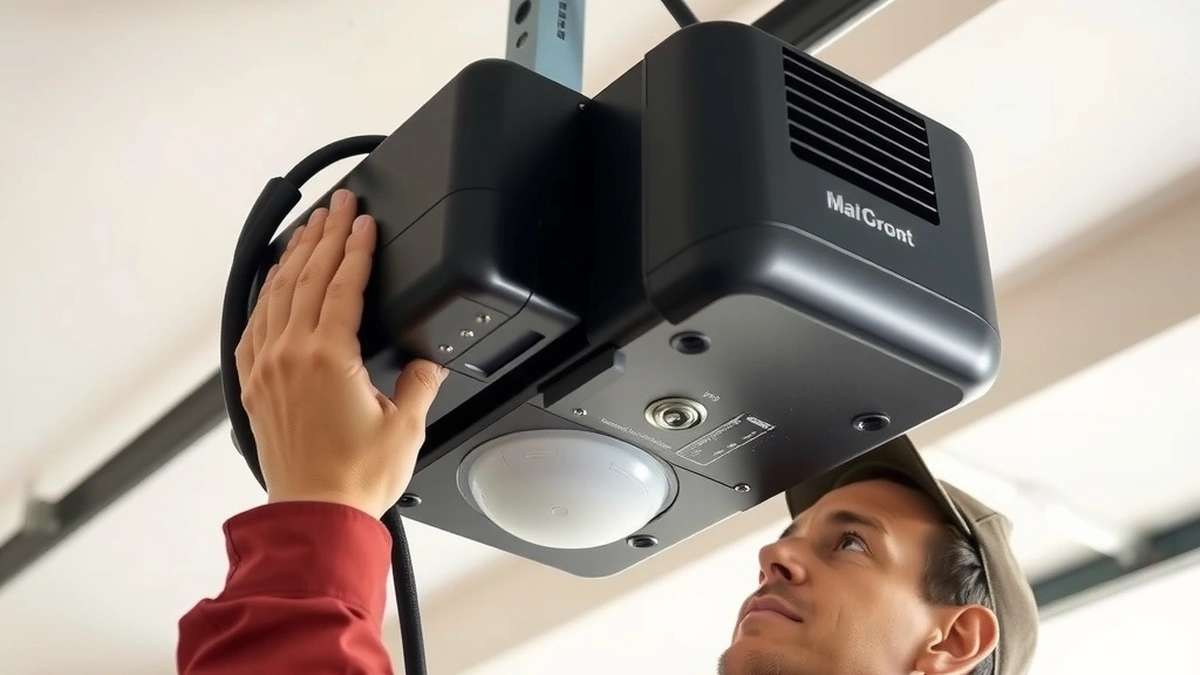
Chain-drive opener installation typically takes 4–6 hours for a DIYer and costs $300–$800 when professionally installed, including the opener unit and hardware.
- Project time
- 4–6 hours (DIY)
- Professional install cost
- $300–$800
- Opener unit only
- $150–$250
- Difficulty
- Moderate
- Safety priority
- Springs and cables first
Some links on this page are affiliate links.If you buy through them we may earn a commission at no extra cost to you. We do not accept payment for rankings. Read the full disclosure.
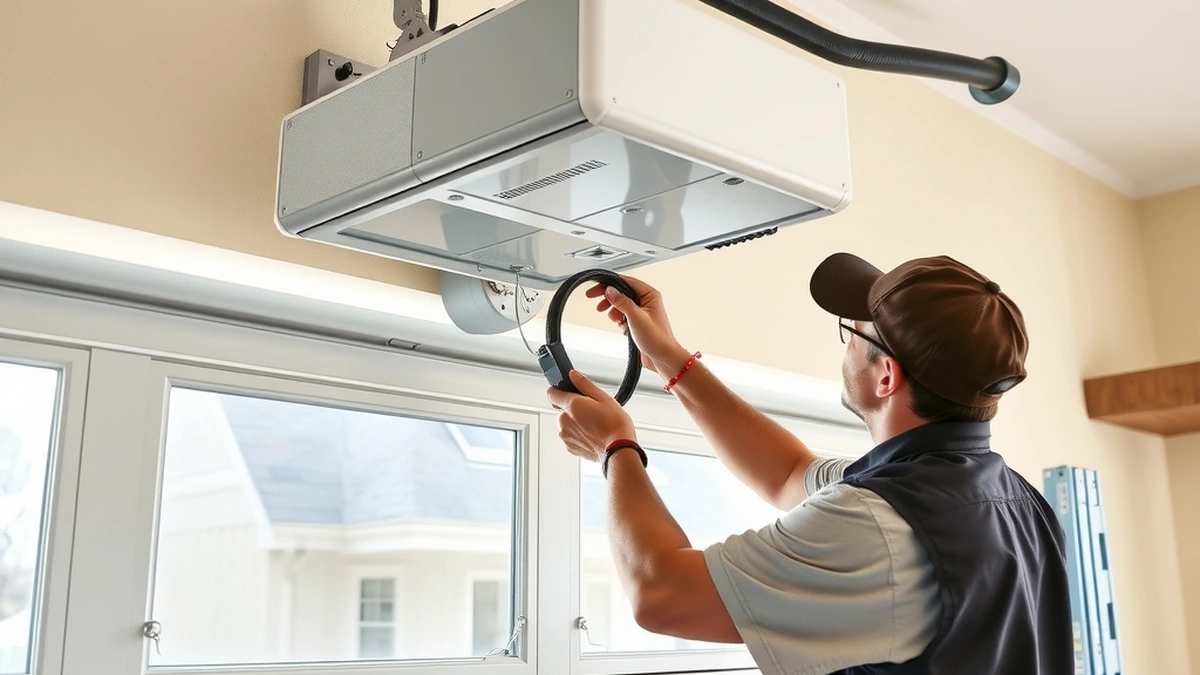
Chain-drive opener installation means mounting a motorized unit to your garage ceiling, connecting it to the door with a metal chain, and wiring it to power and wall controls. It is one of the most common garage door opener projects because chain-drive units are durable and typically cost less than belt-drive models. Expect the job to take roughly 4 to 6 hours for a prepared DIYer, or about 2 to 3 hours for an experienced installer.
Safety First: Springs and Cables
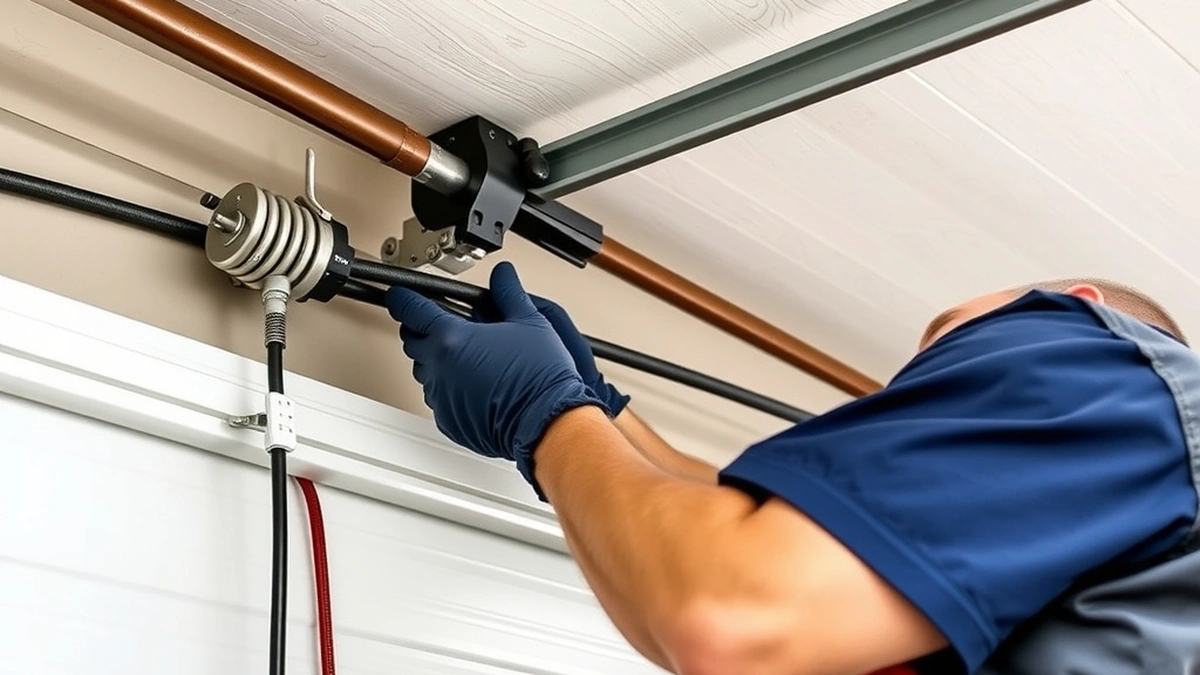
Garage door springs and cables operate under extreme tension. A torsion spring can store enough force to cause serious injury or death if it unwinds unexpectedly. Before you touch an opener, inspect the door’s balance. Disconnect the opener if one is already installed, lift the door halfway by hand, and let go. A properly balanced door stays put. If it drifts up or down, the springs need adjustment by a qualified technician. Never attempt to loosen or tighten torsion springs yourself.
Cables are equally dangerous. Frayed or broken cables can snap under load. If you see worn cable strands, replace them before installing an opener. Professional cable repair typically runs $150 to $350. Torsion spring replacement costs about $150 to $400. These are not optional safety steps; they are prerequisites for any opener installation.
Tools and Materials You Will Need
Gather everything before you start so you are not working from a ladder mid-job.
- Chain-drive garage door opener kit with rail and chain
- Power drill and driver bits
- Socket set and wrenches
- Tape measure and level
- Ladder rated for your weight
- Pencil and stud finder
- Safety glasses and gloves
- Ceiling mounting bracket and perforated angle iron (if not included)
- Electrical wire, wire nuts, and a grounded outlet within reach
Check the opener’s horsepower rating against your door size. A single-car door usually needs a 1/2 HP opener, while a heavy or insulated double-car door may require 3/4 HP. Using an undersized opener shortens motor life and can strip the chain drive.
Pre-Installation Door Check
Your garage door must move freely before automation. Open and close it manually. It should travel smoothly without sticking or rubbing the tracks. Lubricate rollers and hinges if needed, but do not lubricate the track itself; grease collects dirt and makes the door harder to move.
Measure the door height. Standard residential doors are 7 or 8 feet tall. The opener rail must match this height, with extra length for the motor housing. Confirm you have at least 3 to 4 inches of clearance above the highest point of door travel, and check that the header bracket will attach to solid wood framing, not just drywall.
Mounting the Header Bracket and Rail
Start by installing the header bracket above the door. This bracket transfers the opener’s pulling force into the wall framing. Locate the center of the door, mark the header, and fasten the bracket to structural framing with lag screws. If the header is not solid, add a 2-by-6-inch mounting board secured to studs, then attach the bracket to that board.
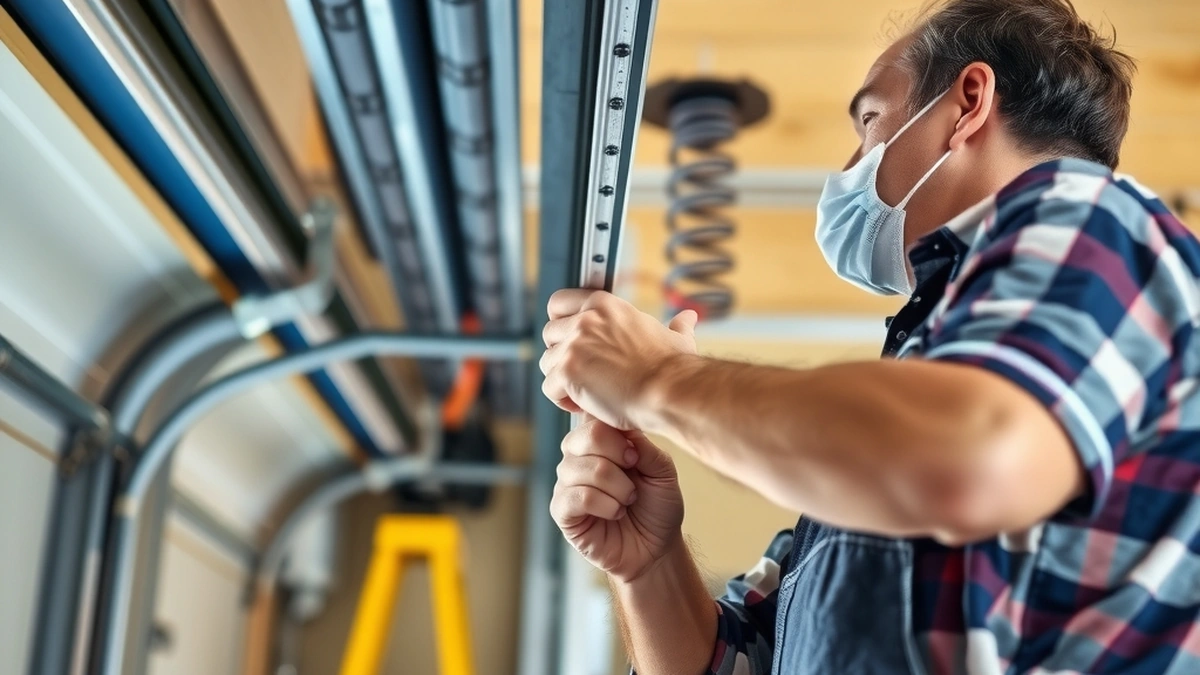
Assemble the rail sections on the floor according to the manual. Slide the trolley onto the rail, then connect the rail to the motor unit. Lift the assembly and attach the outer end of the rail to the header bracket. The rail should be level or slightly angled upward toward the motor, never sagging in the middle.
Hang the motor from ceiling joists using the supplied hanging hardware or angle iron. The motor must be level and securely fastened to framing, not suspended from drywall or ceiling finish. Use a stud finder to locate joists, and drive lag screws through the mounting holes into solid wood.
Installing the Chain and Door Arm
Thread the chain around the sprocket and through the rail, connecting both ends to the trolley and the threaded shaft near the motor. Adjust chain tension so there is about 1/4 to 1/2 inch of slack when the trolley is at the midpoint. A chain that is too tight wears the sprocket; a chain that is too loose can jump teeth.
Attach the door bracket to the top panel of the garage door, centered and level. Connect the straight arm from the trolley to the door bracket, then add the curved arm if your kit uses a two-piece design. All connection points should use the clevis pins and cotter clips provided. Do not substitute nails or bolts that are not rated for the load.
Wiring and Controls
Mount the wall control button about 5 feet above the floor, out of reach of small children but within easy adult reach. Run the bell wire from the motor to the wall control, securing it with staples every few feet. Connect the wires to the terminals marked on the motor unit, usually red and white.
Plug the motor into a grounded 120-volt outlet. If no outlet exists near the ceiling, have an electrician install one. Do not run an extension cord permanently to power a garage door opener. Install the safety reversing sensors near the floor on both sides of the door, no more than 6 inches high. Align them so the infrared beam crosses the door opening, then test by waving an object in the beam while the door closes; it should reverse immediately.
Testing and Final Adjustments
Plug in the opener and run a test cycle without the door connected first. Listen for grinding or binding. Then reconnect the door and operate it through a full open and close cycle. The door should move smoothly, and the trolley should not jerk or strain.
Set the force and limit adjustments according to the manual. The door should reverse when it meets moderate resistance, such as a 2-by-4 laid flat on the floor. If it does not reverse, reduce the closing force and retest. A chain-drive opener will be louder than a belt drive; some rattling is normal, but loud clanking usually means the chain is too tight or the door is out of balance.
Costs and When to Call a Professional
A chain-drive opener unit alone typically costs $150 to $250. Professional installation adds labor, bringing the total to about $300 to $800. If your door needs spring or cable work first, add $150 to $400 for torsion spring replacement or $150 to $350 for cable repair. Panel replacement runs $200 to $600 per panel, and a new door installed costs $800 to $4,000. Emergency call-out service is usually $250 to $500.
Here is a sample cost breakdown for a typical single-car garage:
| Item | Estimated Cost |
|---|---|
| Chain-drive opener unit | $150–$250 |
| Mounting hardware and angle iron | $20–$50 |
| Electrical outlet (if needed) | $100–$200 |
| Professional labor | $150–$400 |
| Total professional installation | $300–$800 |
These figures are estimates. Your actual price depends on local labor rates, door height, and whether existing wiring is usable.
Call a professional if the door is unbalanced, if springs or cables show wear, if you are uncomfortable working on a ladder, or if your home lacks a ceiling outlet. Garage door repair and opener installation overlap frequently; a technician can evaluate both at once. For more on pricing, see our guide to how much garage door repair costs, and for general service options, visit our garage door repair installation page.
Maintenance After Installation
Once the opener is working, inspect it every few months. Tighten chain tension if it develops slack, lubricate the chain with garage door lubricant (not grease), and test the safety reverse feature monthly. Keep the tracks clean and check that the wall control and remote batteries are fresh.
If the opener begins to strain, stops mid-cycle, or makes unusual noises, stop using it and diagnose the cause. Continuing to run a failing opener can damage the door or create a safety hazard. For routine care, our garage door repair maintenance guide covers seasonal checklists. If you are weighing repair versus replacement, our comparison of garage door repair versus garage door opener can help you decide.
Installing a chain-drive opener is a manageable project for a careful homeowner, but it is not a reason to skip safety checks. Springs and cables come first. Price comes second. If anything about the door’s balance or the overhead framing feels uncertain, bring in a professional before you power up the motor.
Next, compare how much does garage door repair cost, garage door repair installation, garage door repair repair before you commit.
Frequently asked questions
How long does chain-drive opener installation take?
Most homeowners need 4 to 6 hours for a first-time DIY installation, assuming the door is balanced and the ceiling bracket is solid.
Can I install a chain-drive opener myself?
Yes, if you are comfortable with ladders, electrical wiring, and following manufacturer instructions, but never adjust torsion springs yourself.
How much does professional installation cost?
Professional chain-drive opener installation runs about $300 to $800, depending on the opener model and local labor rates.
Do I need a new outlet for the opener?
Most openers plug into a standard 120-volt grounded outlet located near the ceiling motor; extension cords are not a permanent substitute.
Is a chain-drive opener noisy?
Chain drives are louder than belt or screw drives because the metal chain rolls against the sprocket, especially in older units.
What if my garage door is unbalanced?
Do not install the opener until the door is balanced; an unbalanced door can strain the opener and create a falling-door hazard.
Sources
Some links are affiliate links.If you buy through them we may earn a commission at no extra cost to you. We do not accept payment for rankings. Read the full disclosure.