Reversed Sensors: How to Prevent It
Simple habits that stop garage door safety sensors from being swapped, turned backward, or miswired, including labeling, mounting, and wire rules.
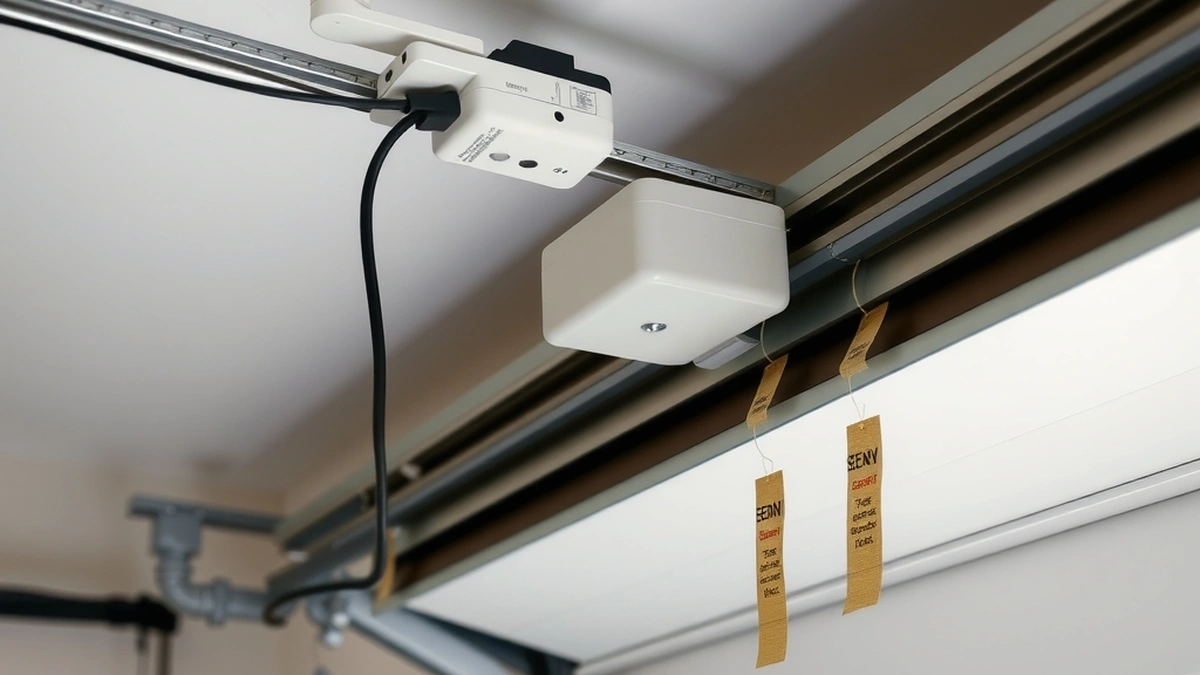
Prevent reversed sensors by labeling each unit and its wire before you loosen anything, photographing the terminal block, and never swapping the units during cleaning.
- Labeling time
- 5 minutes
- Tape and marker
- $5
- Sensor pair replaced
- $25–$75
- Emergency call-out avoided
- $250–$500
Some links on this page are affiliate links.If you buy through them we may earn a commission at no extra cost to you. We do not accept payment for rankings. Read the full disclosure.
Reversed sensors are almost always caused by a person, not a part. Someone takes both photo-eye units off to clean, paint, or replace a track, then puts them back on the wrong sides or with the lenses facing the wall. Prevention is a five-minute labeling habit plus a mounting rule you can check at a glance.
Where the Mistake Comes From
Reversed sensors are a photo-eye pair installed with the sending and receiving units in each other’s place, turned so the lenses do not face each other, or connected to the wrong terminals. The hardware is fine; the relationship between the two units is what broke.
Nearly every case traces to one of four moments: cleaning the lenses, painting the door frame, replacing a roller or hinge near the bottom bracket, or replacing a damaged wire. The units come off and go back on in a hurry. The fix is cheap, but the diagnosis is not obvious, and a door that will not close on a Sunday can mean a $250 to $500 emergency call-out for a problem a strip of tape would have prevented.
Label Before You Loosen Anything
Five steps, done before a screwdriver touches the bracket.
- Unplug the opener at the ceiling outlet.
- Cut two strips of masking tape and wrap one around each sensor’s wire pair, about 6 inches back from the unit.
- Write L on the left strip and R on the right, facing the door from inside the garage.
- Add the terminal number from the opener head if your model labels them, for example L-2 and R-3.
- Photograph the terminal block and both brackets with your phone before removing anything.
The tape costs about $5 a roll and the photograph settles every argument about which wire went where.
The sides matter because the units are directional. The sending eye emits an infrared beam and the receiving eye looks for it, and some brands mark the pair with an A and B or with different indicator colors. Check the manual rather than assuming. If you are unsure, plug the opener in with the door closed and watch: the unit whose indicator stays solid is usually the sender, and the one that reacts when you pass a hand through the beam is the receiver.
Electrical polarity matters too. Many residential openers wire both sensors in parallel to one pair of terminals, so a left-right swap still works once the lenses face each other. On models with separate sensor terminals, or installs where the run was extended with spliced wire, each unit must return to the terminal it came from. Swap them and the opener sees an open circuit and refuses to close.
Mounting Rules That Prevent Reversal
| Wrong practice | Right practice | Why it matters |
|---|---|---|
| Lens aimed at the wall or floor | Lens aimed across the opening | A beam that never lands reads as an obstruction |
| Units at different heights | Both 6 inches above the floor | A tilted beam is fragile and drifts out of aim |
| Bracket screws finger-tight | Snug against the track, no wobble | Vibration walks a loose bracket out of alignment |
| Unit mounted outside the door path | Inside the opening, clear of the panel | The door must break the beam, not miss it |
| Wire pulled tight to reach | Wire with a service loop | Tension pulls the unit out of aim over months |
Height and aim matter most. A pair set at 6 inches and aimed square holds for years. A pair at 4 inches and 9 inches, angled to compensate, drifts every time the seasons change the track’s shape.
Protect the Wire Run
Sensor wire is usually 18- to 22-gauge bell wire stapled along the ceiling and down the wall. It is the most frequently damaged part of the system because it sits where ladders, rakes, and stored lumber travel.
Staple loosely enough that the insulation is not crushed, and never staple through a conductor. Keep the run inside the track’s shadow rather than across a span a broom handle can hook. If you extend a run, use the same gauge and proper splices, not twisted ends under tape.
A damaged run reads as a missing sensor, producing the same reverse-on-close symptom as a reversed pair, which is why the terminal check comes before the parts order.
Watch for Slow Failures
Direct afternoon sun can saturate a receiver, causing failures at the same time each day — a pattern that looks like a wiring fault and is not. A little shade or a repositioned bracket usually solves it. Paint over a lens is another slow killer, so mask the lenses before painting trim. Spider webs and lawn grit scatter the beam gradually, making the door fail on humid mornings before it fails altogether. A monthly wipe with a dry microfiber cloth handles it in seconds, and glass cleaner should stay off polycarbonate lenses.
Do the Post-Job Check
Any time work is done near the bottom of the door — rollers, hinges, bottom bracket, weather seal, track alignment — re-verify the sensors before the tools go away. Two minutes is the difference between finishing the job and creating a new one.
Confirm both indicator lights show a normal pattern, then close the door and pass a 2-inch by 4-inch board through the beam. The door must reverse on contact. If it does not, stop and re-check the aim before anyone uses the door.
This is the same check that belongs in a monthly routine. Our opener not responding prevention guide puts it alongside battery and balance checks, and garage door repair maintenance covers the seasonal work that keeps tracks and rollers from moving the sensors in the first place.
When to Call Instead of Adjust
If the lights will not settle after labeling, re-aiming, and a terminal check, the fault is in the sensors or the opener head. A replacement pair runs $25 to $75 in parts and $75 to $250 installed. Compare that with a misdiagnosed sensor fault blamed on the opener, which leads to a $300 to $800 replacement of a unit that was never broken.
Two related repairs are worth pricing at the same visit: a frayed lifting cable at $150 to $350 and a weakened torsion spring at $150 to $400. Neither is a sensor problem, but both affect whether the door can be moved safely by hand after a sensor fault takes the opener out of service.
For the repair sequence itself, see reversed sensors repair. For what a professional visit should cost, see reversed sensors cost.
Bottom Line
Prevention comes down to tape and attention. Label each sensor and wire before loosening anything, photograph the terminal block, mount both lenses at 6 inches facing across the opening, and re-check the lights after every job near the bottom of the door. That five-minute habit avoids a $75 to $250 service call, and the $250 to $500 emergency version when the door will not close on a Sunday night.
Frequently asked questions
How do garage door sensors get reversed?
Almost always during cleaning, painting, or track work. Someone removes both units, then reinstalls them on the wrong sides or with the lenses facing the wall.
Does it matter which sensor goes on the left?
Yes on many openers. The sending eye and receiving eye are not interchangeable on every model, and the wire pair feeding each unit needs to match the terminal it came from.
What is the best way to label sensor wires?
Wrap a strip of masking tape around each wire pair and write L or R plus the terminal number before disconnecting anything. Photograph the terminal block as a backup.
Can I prevent sensor problems without any tools?
Mostly. A monthly glance at both indicator lights catches misalignment before it strands the car, and keeping stored items clear of the beam prevents most false obstructions.
Do LED or fluorescent bulbs affect sensors?
They can affect the opener's receiver, not the sensors themselves. If a fault started after a bulb change, fit a bulb rated for garage door openers.
How often should sensors be checked?
Monthly, as part of a five-minute opener test, and again immediately after any work on tracks, rollers, panels, or the door's weather seal.
Sources
Some links are affiliate links.If you buy through them we may earn a commission at no extra cost to you. We do not accept payment for rankings. Read the full disclosure.